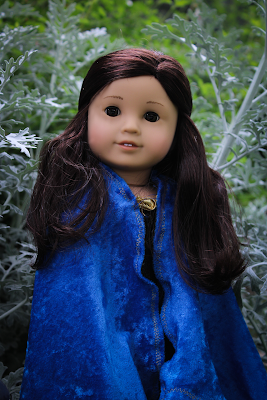
Before and After Editing: Starkov
Hey everyone! Here's the behind the scenes of my most recent photoshoot! Enjoy! (:


As you can see, I didn't make a ton of adjustments for this photo. I feel like the biggest difference between the two is just that I erased the flyaways on Clover's face.
I also made some small changes to the lighting, such as increasing contrast and using a mask to brighten Clover's face a bit.

Since these first two photos are really similar, my process was pretty much the same, but I did want to go into a bit more detail on how I use the mask feature.
I think most photo editors have a mask tool, but if you've never heard of it, it's a tool that allows you to edit only a certain part of your image. For example, if your doll is really backlit, you'd apply a mask over the doll to brighten her features, and you'd probably also apply a mask to background to add more shadow, and make the doll the center of attention.
I mostly use the mask to brighten my dolls' skin and eyes, but it's a pretty versatile tool, especially if you're into more advanced editing!


The biggest difference between these two photos is probably the vignette. If you've read any of my other posts, you probably already know that I LOOOOVE vignettes because I think they make photos look really fun and dramatic, and they also draw more attention to the doll.
You can also see where I used a mask to brighten Clover's face, and in particular, her eyes. I typically do one mask for the doll's entire body, and then a separate one for her eyes because I'm a huge fan of super bright doll eyes.
But on that note, who isn't? 😅


This photo is pretty much the same as #3, but with a slightly less intense vignette. If you look at the left side of Clover's face, you can also see where I attempted to edit out some flyaways. I typically use the clone stamp and/or a spot healing tool to get rid of flyaways, and then blur the skin so it looks smoother, but I clearly didn't do a great job with this one because her face actually looks blurry lol. 😂


Photo #5
My process for editing the lighting in this photo was pretty much the same as usual, but I actually had to use three different editors to make it look like Clover was controlling sunlight, the way Alina does in the books.
The big orb of light around Clover's hand is a really great example of the mask tool. In Lightroom, I applied a ton of masks around her hand, and just increased the exposure and highlights in that one area.
I edited in the lens flare in the corner with PhotoScape X, and the rays of sunlight coming out of her hand were done with PicMonkey!
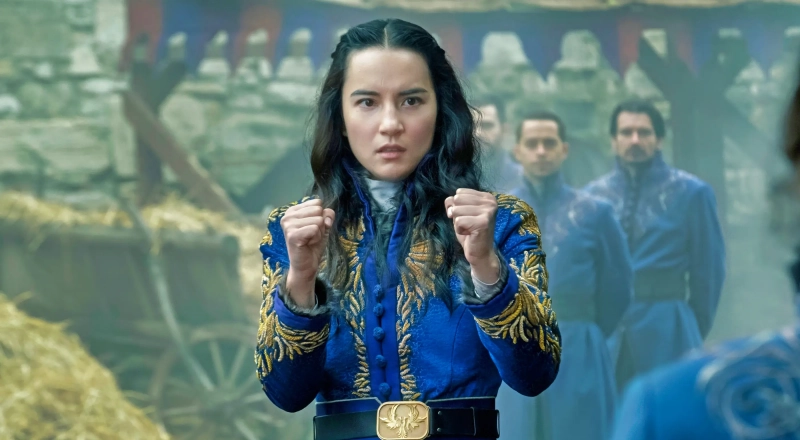
And then, to finish this post off, I wanted to show you guys what Alina's kefta was supposed to look like lol! Since I've only read the Grishaverse books, and haven't seen the show yet, I based my kefta off of what I imagined them looking like. I definitely didn't do the greatest job, but I feel like it's still pretty obvious that Clover's supposed to be Alina . . . ? Honestly idk, but I tried my best and that's all that matters!
At least I hope so . . . (;
So, yeah! I hope you found this post at least somewhat interesting! 😉 I had a ton of fun editing these photos, and I'm really proud of how they turned out!
Bye!
~Annabelle
I hope you make this an ongoing series! It's really interesting and helpful for me! I think you did a great job on recreating Alina!
ReplyDeleteI'm definitely going to keep doing this in the future, so I'm glad you find it helpful! And thank you! (:
DeleteI love seeing your editing process! It's very interesting. You should definitely continue this series ;)
ReplyDeleteThanks so much! I'm going to!
DeleteIt's so cool to see your editing!! Clover makes a great Alina! I would have guessed you used Photoshop on the last one, but using the masks sounds really smart!
ReplyDeleteThank you! I've tried to use Photoshop, but it's SO complicated! Masks are amazing! (:
Delete